Create a Google Cloud Platform service account
Below is all the information you need to create a Google Cloud Platform (GCP) service account for use with Deep Security.
For information on why you might want to create a GCP service account to use with Deep Security Manager, see What are the benefits of adding a GCP account?.
Topics:
- Prerequisite: Enable the Google APIs
- Create a GCP service account
- Add more projects to the GCP service account
- Create multiple GCP service accounts
Prerequisite: Enable the Google APIs
Before you can create a GCP service account for Deep Security Manager, you'll need to enable a few Google APIs under your existing GCP account.
Follow the procedure below to enable these APIs inside each of your projects:
- Log in to Google Cloud Platform using your existing GCP account. This account must have access to all the GCP projects that contain VMs that you want to protect with Deep Security.
- At the top, select a project that includes VMs that you want to add to Deep Security Manager. If you have multiple projects, you can select them later.
For example: Project01

- Click Google Cloud Platform at the top to make sure you're on the Home screen.
- From the tree view on the left, select APIs & Services > Dashboard.
- Click + ENABLE APIS AND SERVICES.
- In the search box, enter cloud resource manager API and then click the Cloud Resource Manager API box.
- Click ENABLE.
- Repeat steps 5 - 7 of this procedure, entering compute engine API and clicking the Compute Engine API box.
- Repeat steps 1 - 9 of this procedure for any other projects that include VMs that you want to add to Deep Security Manager.
For more information on how to enable or disable APIs in GCP, refer to this page from Google:
https://cloud.google.com/apis/docs/getting-started
Create a GCP service account
A service account is a special type of Google account that is associated with an application or VM, instead of an individual end user. Deep Security Manager assumes the identity of the service account to call Google APIs, so that users aren't directly involved.
Follow the procedure below to create a service account for Deep Security Manager:
- Before you begin, make sure you've enabled the GCP APIs. See Prerequisite: Enable the Google APIs.
- Log in to Google Cloud Platform using your existing GCP account.
- At the top, select a project. If you have multiple projects, you can select any one. For example: Project01.
- Click Google Cloud Platform at the top to make sure you're on the Home screen.
- From the tree view on the left, select IAM & admin > Service accounts.
- Click + CREATE SERVICE ACCOUNT.

- Enter a service account name, ID and description.
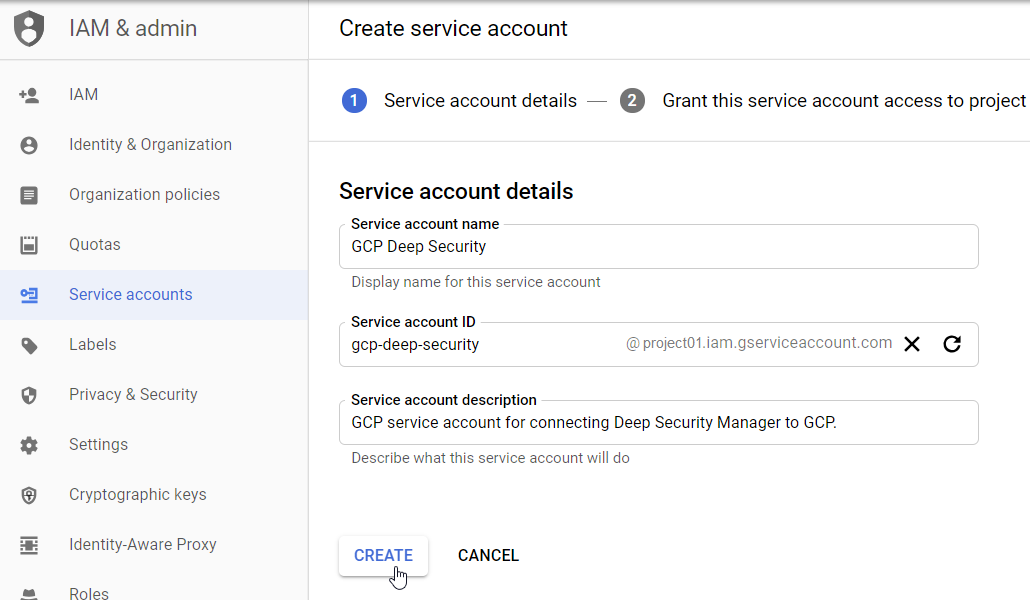
For example:
- Service account name: GCP Deep Security
- Service account ID: gcp-deep-security@<your_project_ID>.iam.gserviceaccount.com
- Service account description: GCP service account for connecting Deep Security Manager to GCP.
- Click Create.
- In the Select a role drop-down list, select the Compute Engine > Compute Viewer role, or click inside the Type to filter area and enter compute viewer to find it.
- Click CONTINUE.
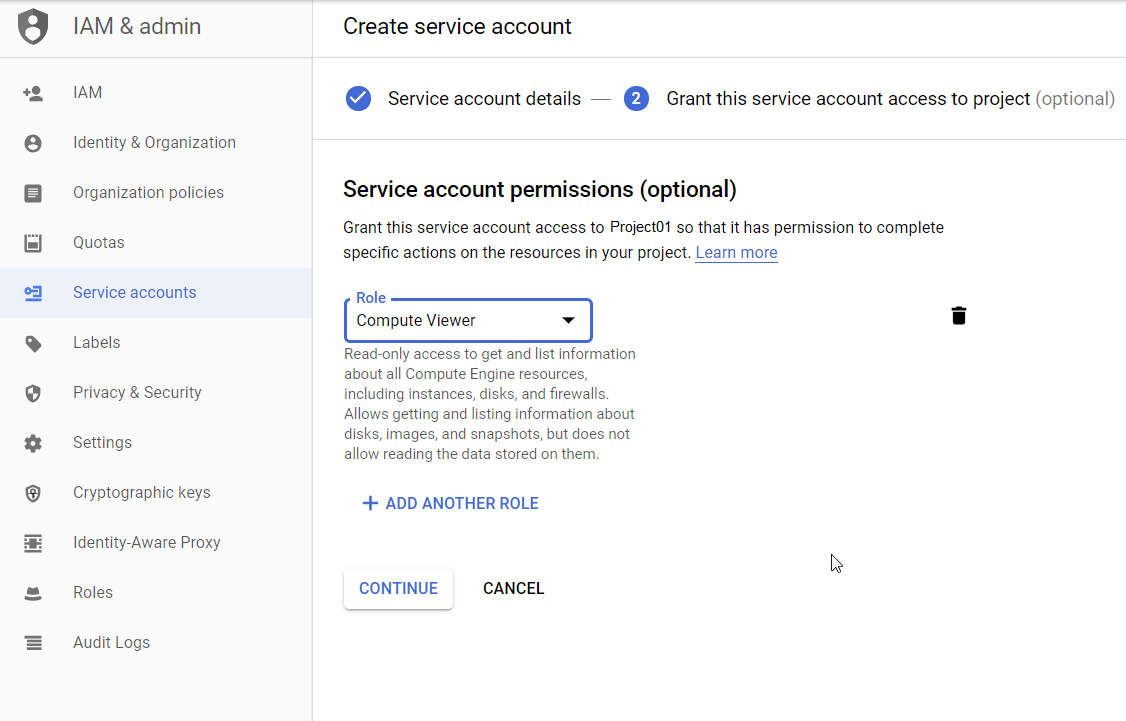
You have now assigned the Compute Viewer role.
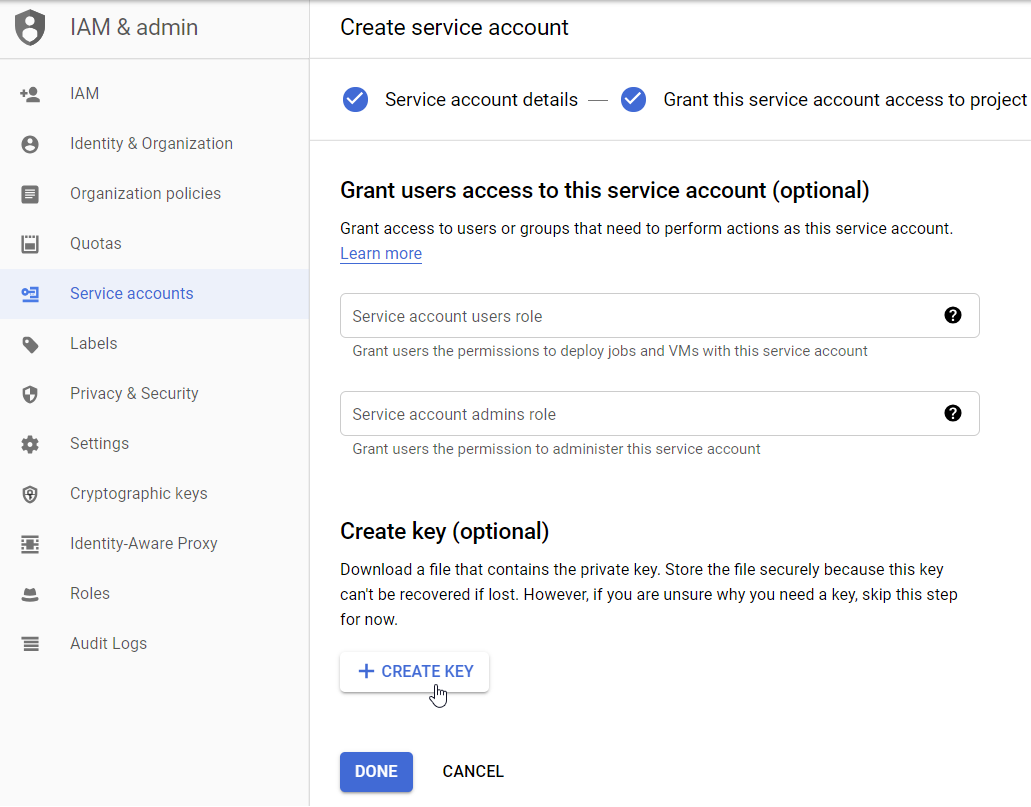
- Click + CREATE KEY.
- Select JSON and click CREATE.
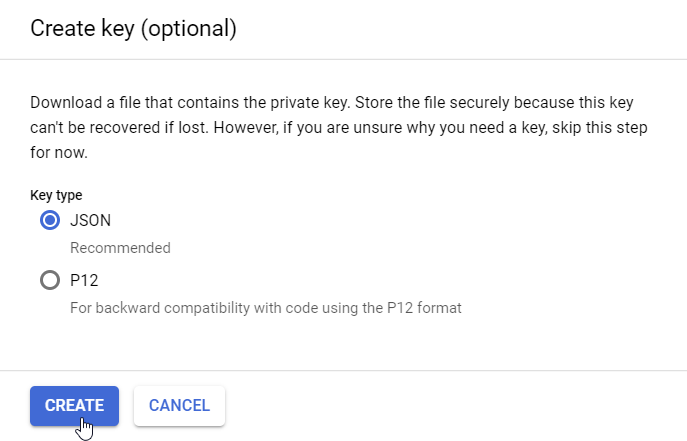
The key is generated and placed in a JSON file.
- Save the key (JSON file) to a safe place.
- Place the JSON file in a location that is accessible to Deep Security Manager for later upload. If you need to move or distribute the file, make sure you do so using secure methods.
- Click DONE.
You have now created a GCP service account with necessary roles, as well as a service account key in JSON format. The service account is created under the selected project (Project01), but can be associated with additional projects. For details, see the following section.
It will take 60 seconds - 7 minutes for the IAM permissions to propagate through the system. See this Google article for details.
Add more projects to the GCP service account
If you have multiple projects in GCP, you must associate them with the service account you just created. All your projects (and underlying VMs) will then become visible in Deep Security Manager when you later add the service account to Deep Security Manager.
If you have many projects, you might find it easier to divide them up across multiple GCP accounts instead of adding them all to just 1, as described below. For details on a multi-GCP account setup, see Create multiple GCP service accounts.
Follow this procedure to associate additional projects with 1 service account:
- Before you begin, make sure you have completed the procedures in Prerequisite: Enable the Google APIs and Create a GCP service account.
- Determine the email of the GCP service account you just created, as follows:
- In Google Cloud Platform, from the drop-down list at the top, select the project under which you created the GCP service account (in our example, Project01).
- On the left, expand IAM & Admin > Service accounts.
- In the main pane, look under the Email column to find the GCP service account email. For example:
gcp-deep-security@project01.iam.gserviceaccount.com
The service account email includes the name of the project under which it was created.
- Note this address or copy it to the clipboard.
- Still in Google Cloud Platform, go to another project by selecting it from the drop-down list at the top. For example: Project02.

- Click Google Cloud Platform at the top to make sure you're on the Home screen.
- From the tree view on the left, click IAM & admin > IAM.
- Click ADD at the top of the main pane.
- In the New members field, paste the Project01 GCP service account email address. For example:
gcp-deep-security@project01.iam.gserviceaccount.com
You can also start typing the email address to auto-fill the field.
-
In the Select a role drop-down list, select the Compute Engine > Compute Viewer role, or click inside the Type to filter area and enter compute viewer to find it.
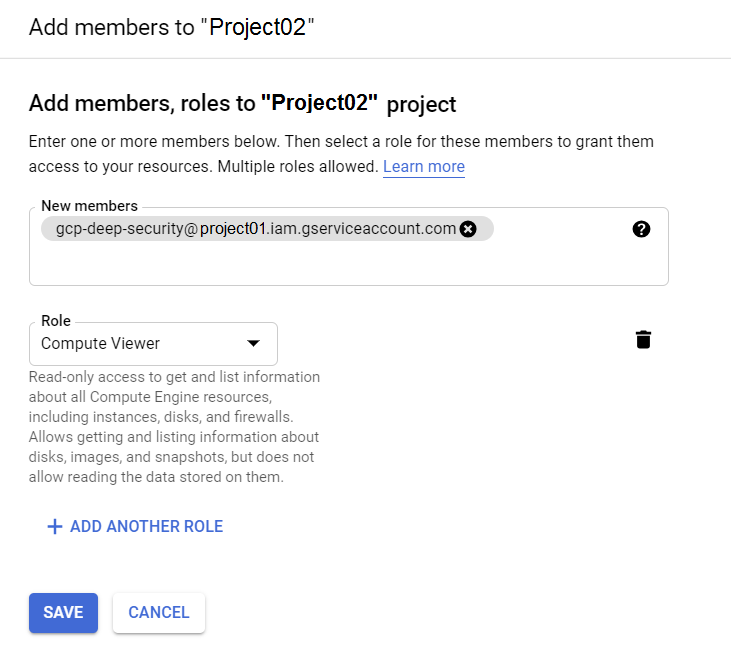
You have now added the service account with the Compute Viewer role to Project02.
- Click SAVE.
- Repeat steps 1 - 9 in this procedure for each project that you want to associate with the GCP service account.
For more information on how to create a service account, refer to the following page from Google:
https://cloud.google.com/compute/docs/access/create-enable-service-accounts-for-instances
You are now ready to add the GCP account you just created to Deep Security Manager. Proceed to Add a Google Cloud Platform account.
Create multiple GCP service accounts
Normally, you would create a single GCP service account for Deep Security Manager and associate all your projects to it. This configuration is straightforward and works well for smaller organizations with fewer projects. If, however, you have a large number of projects, having them all under the same GCP service account might make them difficult to manage. In this scenario, you can divide your projects across multiple GCP service accounts. Here's how you would set this up, assuming your projects were spread across your organization's Finance and Marketing departments:
- Create a Finance GCP Deep Security GCP service account for Deep Security Manager.
- Add finance-related projects to Finance GCP Deep Security.
- Create a Marketing GCP Deep Security GCP service account for Deep Security Manager.
- Add marketing-related projects to Marketing GCP Deep Security.
For detailed instructions, see Create a GCP service account and Add more projects to the GCP service account
- After creating the GCP service accounts, add them to Deep Security Manager one by one, following the instructions Add a Google Cloud Platform account.