Deep Security 11.2 has reached end of support. Use the version selector (above) to see more recent versions of the Help Center.
Uninstall Deep Security from your NSX environment
Uninstalling Deep Security from your NSX environment removes the Deep Security Virtual Appliance from NSX and all the related history from Deep Security Manager.
Topics on this page:
Uninstall Deep Security from NSX automatically
- In Deep Security Manager, go to Computers.
- In the navigation tree on the left, right-click the vCenter and select Remove VMware vCenter.
- Select one of these options:
- Remove VMware vCenter and all subordinate computers/groups from DSM: Removes vCenter and all records of the VMs including the Deep Security policies and rules assigned to them.
- Remove VMware vCenter but retain computer data and Group hierarchy: Removes vCenter but retains its hierarchical structure and the records of the VMs including the Deep Security Policies and Rules assigned to them.
- Remove VMware vCenter, retain computer data, but flatten hierarchy: Removes vCenter but retains the records of the VMs including the Deep Security policies and rules assigned to them. The hierarchical structure of the vCenter is flattened to a single group.
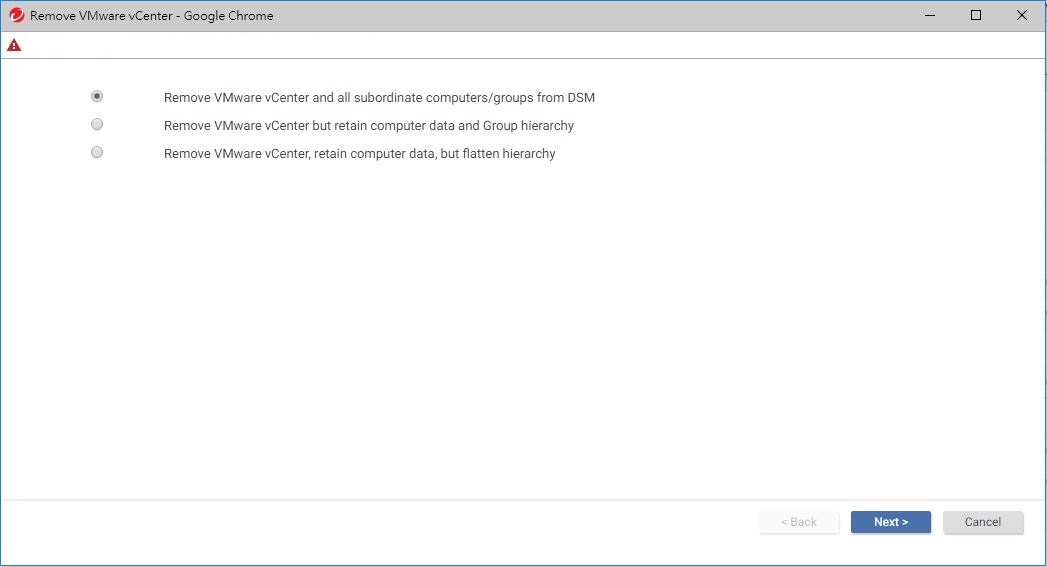
- After selecting an option, click Next.
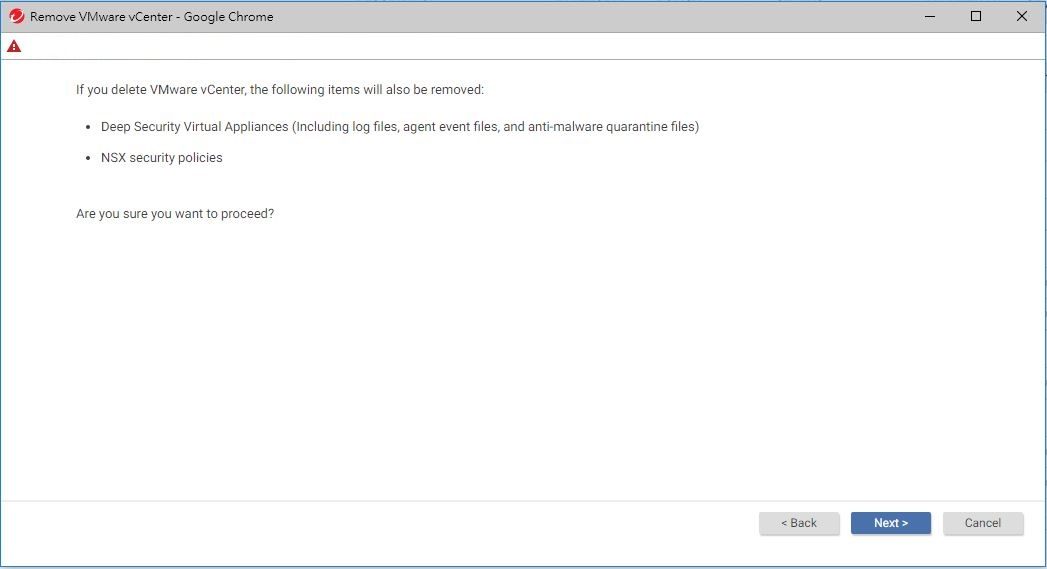
- Click Next again to proceed with the removal.
Assuming you selected the first option, Remove VMware vCenter and all subordinate computers/groups from DSM, all Deep Security Virtual Appliances and NSX policies are removed automatically from your NSX environment.
A success message is displayed indicating VMware vCenter was removed successfully.
If Deep Security Manager has lost connectivity with the NSX Manager, you may see an error stating Unable to remove Deep Security from VMware. If this error occurs, you must remove Deep Security service from NSX Manager manually. See the next section for details.
Uninstall Deep Security from NSX manually
If you tried to remove vCenter from Deep Security Manager using the steps in Uninstall Deep Security from NSX automatically, and you saw an error stating Unable to remove Deep Security from VMware, it may be because Deep Security Manager lost connectivity with NSX Manager. If this error occurs, you must remove Deep Security from NSX Manager manually. The steps are:
- Step 1: Remove the NSX Manager from Deep Security Manager
- Step 2: Remove the Trend Micro service on NSX Manager
Step 1: Remove the NSX Manager from Deep Security Manager
- In Deep Security Manager, go to Computers.
- In the navigation tree on the left, right-click the vCenter and select Properties.
- On the NSX Manager tab, click Remove NSX Manager.
- Click OK.
Step 2: Remove the Trend Micro service on NSX Manager
-
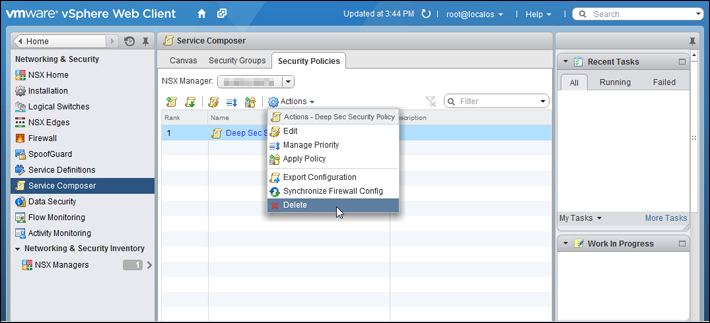
In the vSphere Web Client, go to Home > Networking and Security > Service Composer > Security Policies.
Delete the Deep Security security policies.
-
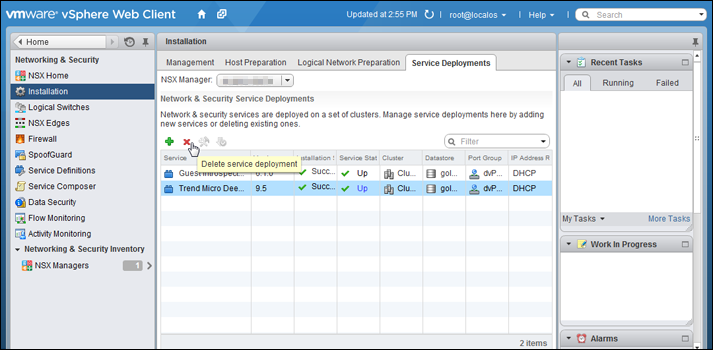
Go to Home > Networking and Security > Installation > Service Deployments.
Delete the Trend Micro Deep Security service deployment.
-
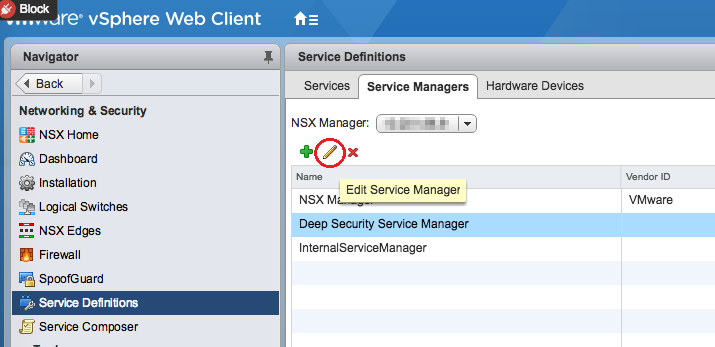
Go to Home > Networking and Security > Service Definitions > Service Managers.
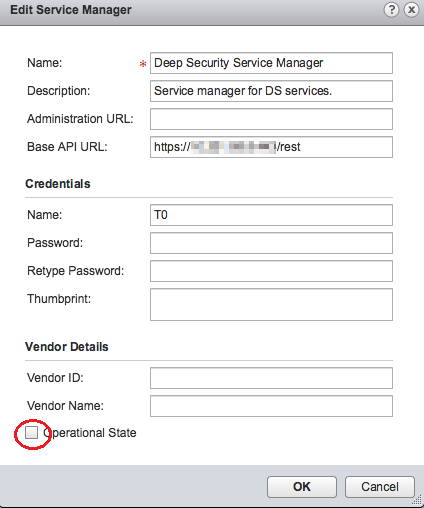
Select Deep Security Service Manager and click the pencil icon. Deselect Operational State.
-
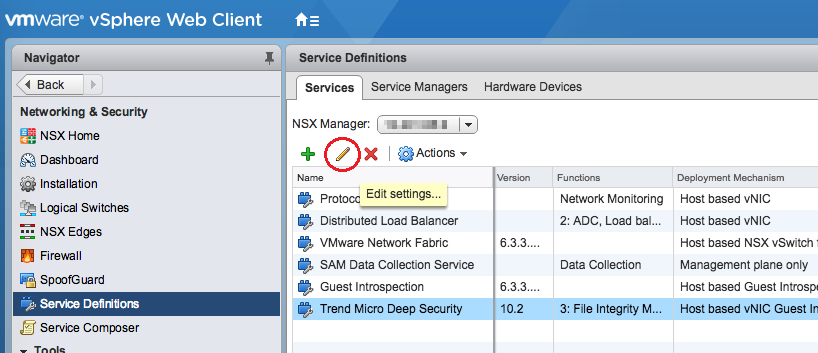
Go to Home > Networking and Security > Service Definitions > Services.
Click Trend Micro Deep Security and click the pencil icon.
-
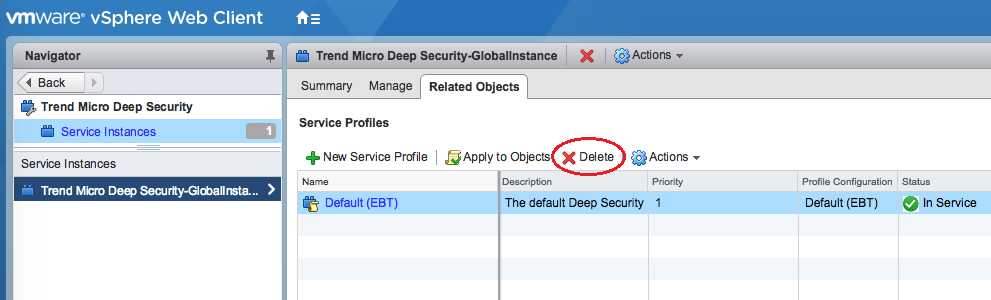
In the left navigation pane, click Service Instances, and then click Trend Micro Deep Security-GlobalInstance, also on the left.
In the main pane, select Default (EBT) and click Delete to remove the service profile.
-
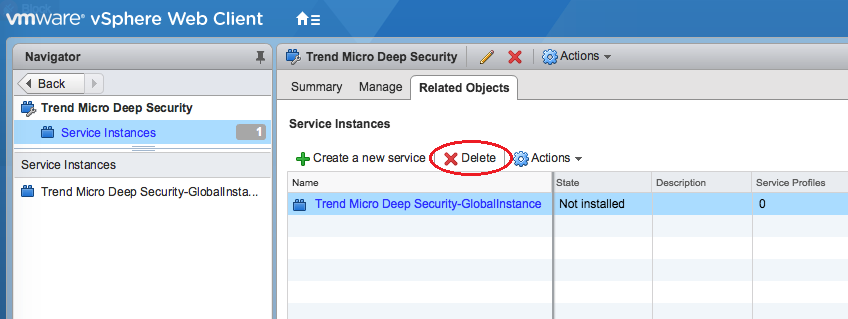
In the left navigation pane, click Service Instances.
In the main pane, click Trend Micro Deep Security-GlobalInstance and click Delete to remove the service instance.
-
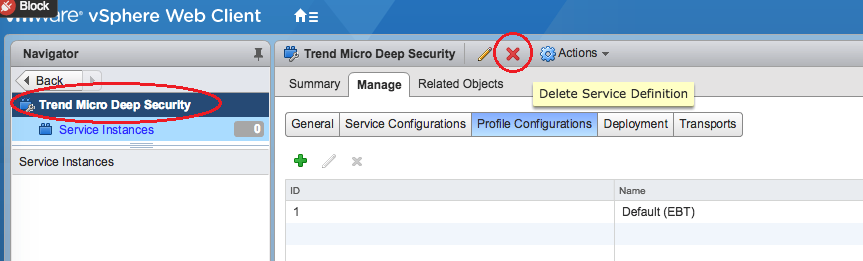
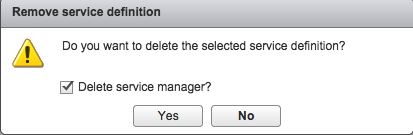
Select the Trend Micro Deep Security service definition and click the delete icon at the very top to remove it.
You have now manually removed Deep Security from your NSX environment.