Deep Security 10.2 has reached end of support. Use the version selector (above) to see more recent versions of the Help Center.
Create NSX security groups and policies
Organize your VMs and Resources into an NSX security group in order to assign an NSX security policy to them.
Create an NSX security group
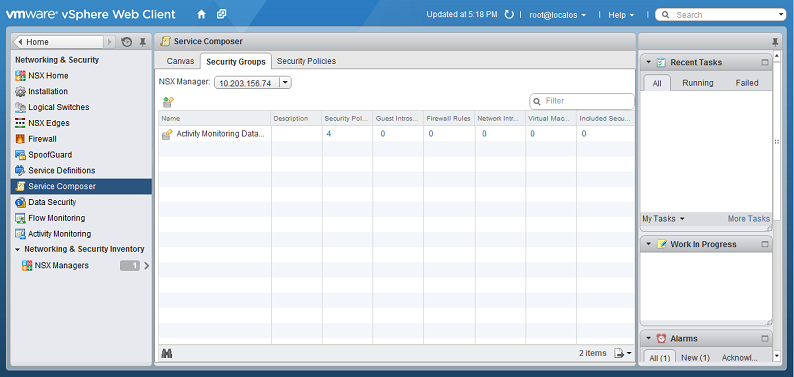
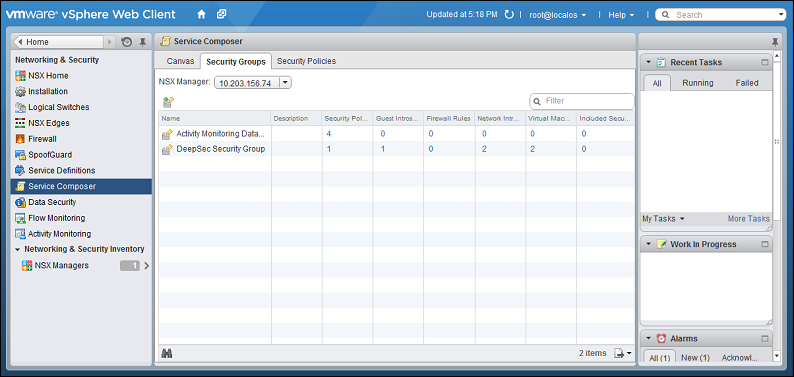
- In vSphere Web Client, go to Home > Networking & Security > Service Composer > Security Groups.
- Click New Security Group(
 ):
): 
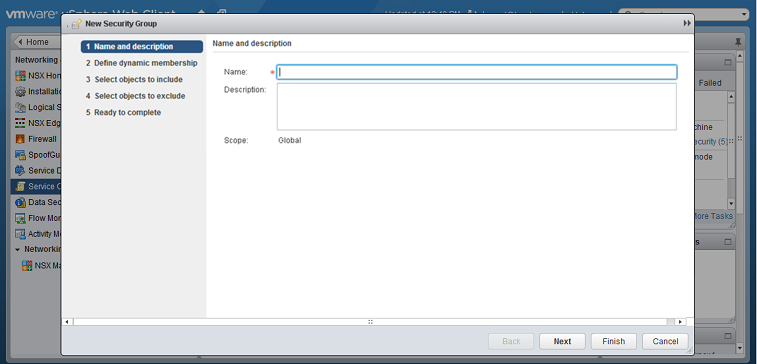
- In the Name and description options, give a name to your security group.
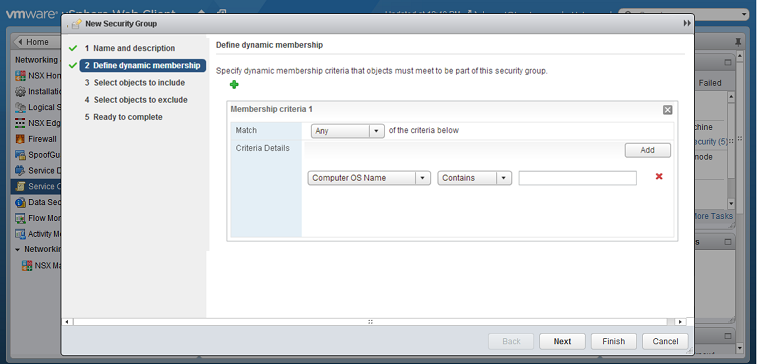
- Define Dynamic Membership: If you wish to restrict membership in this group based on certain filtering criteria, enter those criteria here.
- There are many ways to include or exclude objects in a NSX security group, but for this example, we will simply include the NSX cluster that contains the hosts and VMs that we want to protect. In the Select objects to include options, select Cluster from the Object Type menu, and move the NSX cluster that contains the VMs to protect to the Selected Objects column.
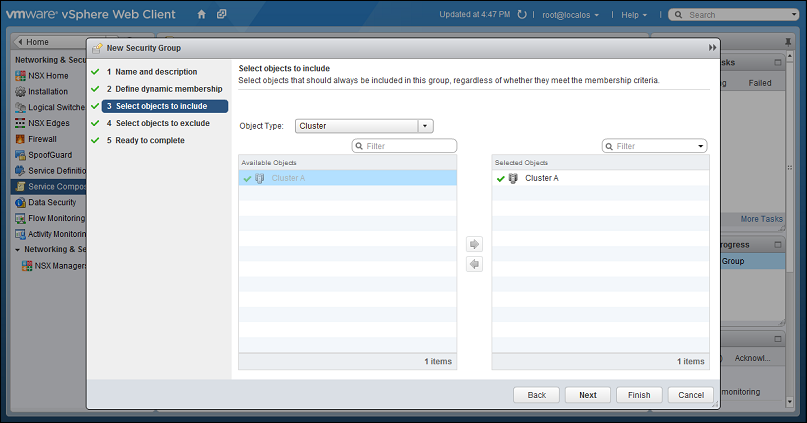
- Click Finish to create the new Security Group and return to the Security Groups tab to see the newly listed Security Group
Create an NSX security policy
Create an NSX security policy with Deep Security enabled as both anEndpoint Service and as a Network Introspection service.
If you are using only the anti-malware or intrusion prevention modules, you will only need to enable the Guest Introspection service. If you are using only the web reputation, firewall, or intrusion prevention modules, you will only need to enable the Network Introspection services.
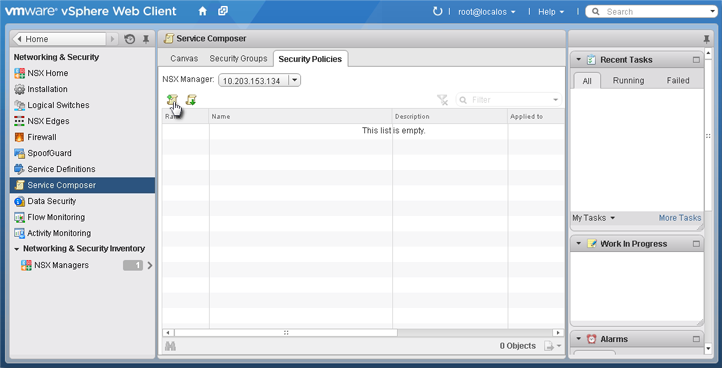
- In vSphere Web Client, go to Home > Networking and Security > Service Composer > Security Policies.
- Click New Security Policy.
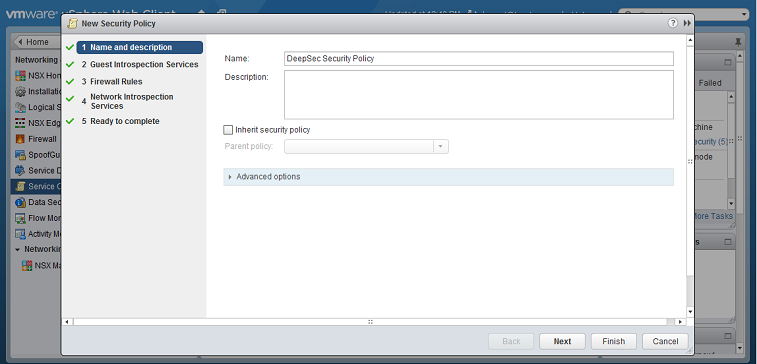
- Name and Description: Give a name to the new policy and then click Next.
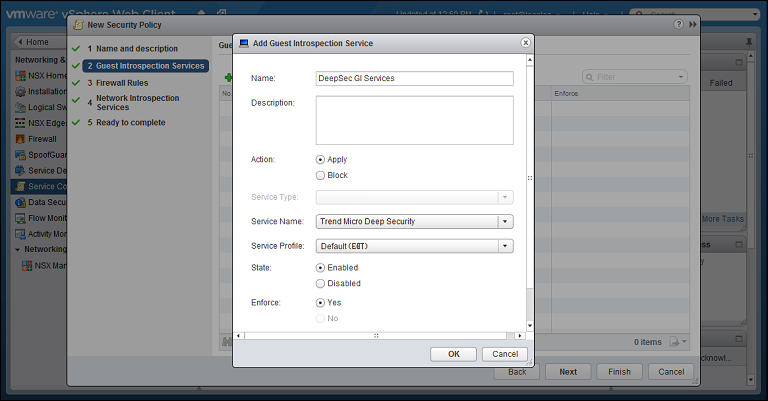
- Guest Introspection Services: Click the green plus sign (
 ) to add an Endpoint Service. Provide a name for the Endpoint Service and select the following settings:
- Action: Apply
- Service Name: Trend Micro Deep Security
- Service Profile: If you are using event-based tasks to handle the creation and protection of VMs, select "Default (EBT)". If you have synchronized your Deep Security policies with NSX Service Profiles, select the Service Profile that matches the Deep Security policy that you want to apply.
- State: Enabled
- Enforce: Yes
Click OK, then click Next. - Firewall Rules: do not make any changes. Click Next.
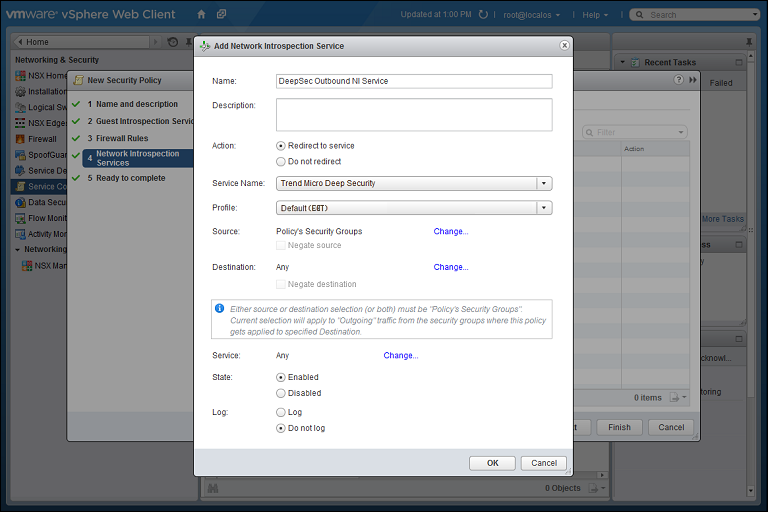
- Network Introspection Services: You will be adding two Network Introspection Services to the NSX Security Policy: a first one for outbound traffic, and a second one for inbound traffic.
- For the first, outbound, service, in the Network Introspection Services options, click the green plus sign to create a new service. In the Add Network Introspection Service window, provide a name for the service (preferably one that includes the word "Outbound") and select the following settings:
- Action: Redirect to service
- Service Name: Trend Micro Deep Security
- Profile: Select the same NSX Service Profile as you did in step 3.
- Source: Policy's Security Groups
- Destination: Any
- Service: Any
- State: Enabled
- Log: Do not log
- For the second, inbound, service, in the Network Introspection Services options, click the green plus sign to create a new service. In the Add Network Introspection Service window, provide a name for the service (preferably one that includes the word "Inbound") and select the following settings:
- Action: Redirect to service
- Service Name: Trend Micro Deep Security
- Profile: Select the same NSX Service Profile as you did in step 3.
- Source: Any
- Destination: Policy's Security Groups
- Service: Any
- State: Enabled
- Log: Do not log
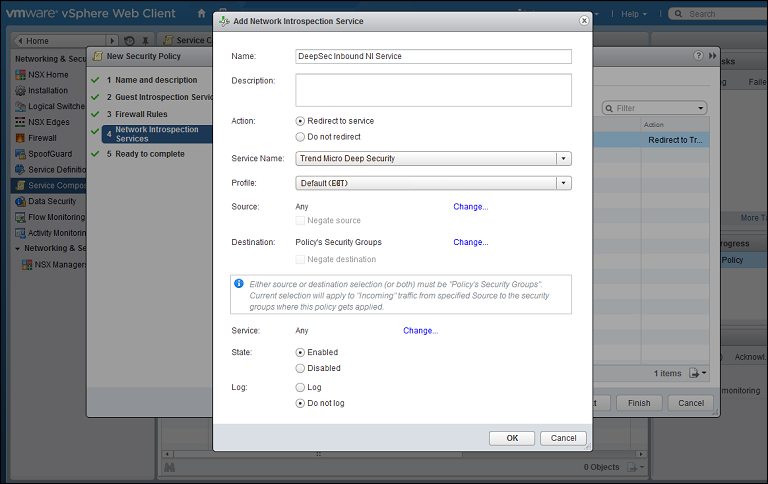
- Click OK in the Add Network Inspection Service window, and then click Finish to complete and close the New Security Policy window.
- For the first, outbound, service, in the Network Introspection Services options, click the green plus sign to create a new service. In the Add Network Introspection Service window, provide a name for the service (preferably one that includes the word "Outbound") and select the following settings:
You have now created your NSX Security Policy for Deep Security.
Apply the NSX security policy to the security group
You must now apply the security policy to the security group that contains the VMs you want to protect. For details on how to create security groups, see Create NSX security groups and policies.
- Stay on the Security Policies tab of the Home > Networking & Security > Service Composer page in your vSphere Web Client.
- With the new Security Policy selected, click the Apply Security Policy icon (
 ).
). - In the Apply Policy to Security Groups window, select the Security Group that contains the VMs you want to protect and click OK.
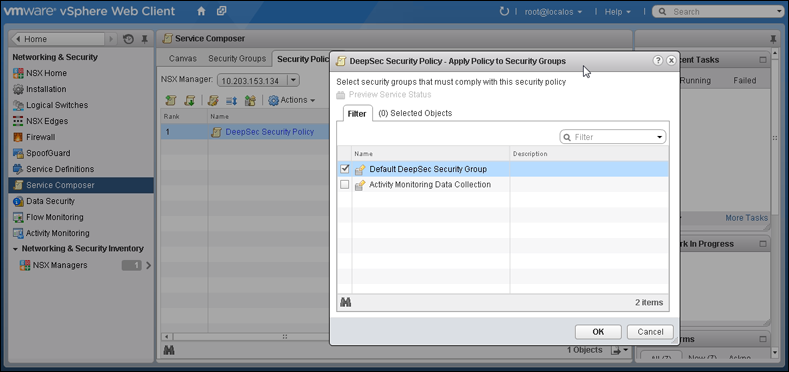
The NSX Security Policy is now applied to the VMs in the NSX Security Group. When VMs are moved into the security group, they will get the NSX Security Group tag and the Deep Security Manager will automatically activate the VMs and assign the policy to them.